Showing posts with label family. Show all posts

Thursday, July 12, 2012

More summer fun

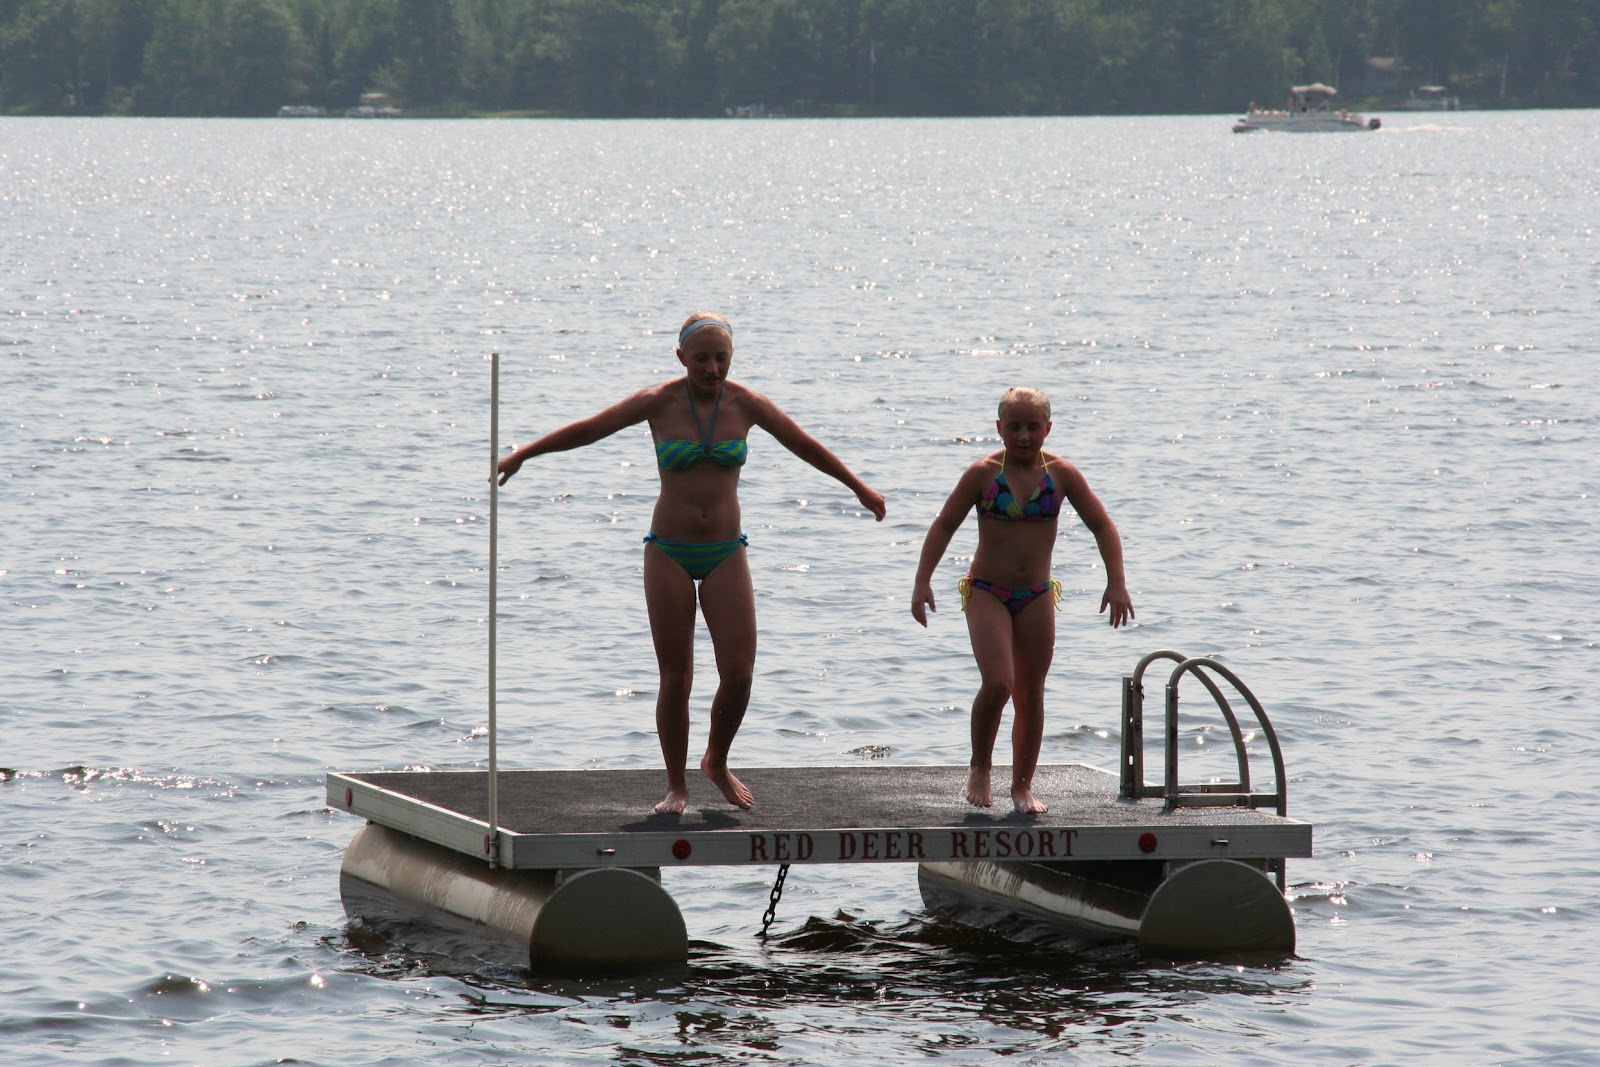
The weekend before the 4th was also spent with my family at the lake.  What a beautiful day it was (although quite HOT).  Yes, I said HOT!  We had over a week of very hot and humid weather (and yes, I do still live in Wisconsin!)  Our weather was hotter here than down south even!

Anyway, here are a few pictures of our fun...
Here are a couple more recipes for you, too.  The first is for S'more Bites.  They were so easy to make and much neater to eat than the originals.  Just as good, minus the campfire.
7  whole graham crackers (1 cup finely crushed)
1/4 cup powdered sugar
6 tablespoons butter, melted
4 bars (1.55 oz each) milk chocolate candy, divided
12 large marshmallows
 
Preheat oven to 350 degrees F. Place graham crackers into a large resealable plastic bag. Finely crush into crumbs. Combine graham cracker crumbs, powdered sugar, and butter in a small bowl.
Place 1 tablespoon of crumb mixture in each cup of a mini muffin pan. Firmly press crumbs to form shallow cups. Bake 4-5 minutes or until edges are bubbling. (I discovered how easy it was to form the shells by using my cookie scoop - 1 scoopful was just the right amount and the back of the scoop worked well to press them into the tin).
Meanwhile, break two of the candy bars into rectangles. Remove pan from oven; place one rectangle into each cup.
 Cut marshmallows in half crosswise using shears dipped in cold water. Place one marshmallow half, cut-side down, into each cup. Return to oven 1-2 minutes or until marshmallows are slightly softened. Remove pans from oven to cooling rack; cool 15 minutes. Carefully remove cups from pan. Cool completely.

Break remaining candy bars and place in small microwavable bowl. Microwave on high 1 to 1 1/2 minutes or until melted and smooth, stirring every 20 seconds. Dip the top of each marshmallow in melted chocolate. Turn top-side up and let stand 40 to 60 minutes or until set. Makes 24 cups.
The next recipe is for Sand Pudding.  You've heard of Dirt Cake?  Well, same idea only it looks like sand instead of dirt.

1 pkg Vanilla Wafers
3 or 4 Oreos
8 oz Cream Cheese
1/4 C Butter
2/3 C powdered sugar
2 small pkgs French Vanilla pudding mix
2 3/4 C Milk
12 oz Cool Whip

Crush Oreos and Vanilla Wafers in a food processor.  In a separate bowl, cream together softened 8 oz cream cheese, butter, and powdered sugar. In another bowl, mix pudding with milk.  Add to cream cheese mixture.  Fold in cool whip.  Layer into buckets with sand, pudding, sand etc. 
 
I found both of these recipes on Pinterest...imagine that!
 
Happy Scrappin'
 

Wednesday, July 11, 2012

4th of July

As you are reading this, I am on my way to Dallas, Texas for our Close To My Heart Annual Convention.  I can hardly wait to spend time with all my "sistas" and to learn, learn, learn.  I will have lots of fun new stuff for you when I get back!!
I hope everyone had a great 4th of July.  It is a bittersweet holiday for me as the 5th marked 3 years since my daughter passed away.  I refuse to let it get me down, though.  I had a wonderful day with my family.  My 3 nieces mean the world to me and I couldn't love them any more than if they were my own!
We made a trip up north to visit Grant and Lori at the campground (and play in the pool) and then headed even further north to visit with Mom and Norm.  We missed out on the big picnic, but got to relax and visit a little anyway :)
 Isn't my Mom the crafty one?  She had these firecrackers all over!
Mr. Eagle even came to visit us :)
I made some Rice Krispie bars to bring along and I thought I'd share the recipe with you.  I know, I know...you're thinking, (what in the world, have I never made them before, don't you think I know how?)  Well, let me tell you, these are better than your average Krispie bars.  There is a little addition to them that just makes them all the better.  You may never go back to plain old Krispie bars again!
3 Tbsp. butter
1 10 oz. bag mini marshmallows
1/3 cup yellow cake mix (dry, not mixed into a batter)
6 cups Rice Krispie cereal
1 (1.75 oz.) container sprinkles

Melt butter in a large saucepan over low heat and add marshmallows. Stir until they begin to melt, adding in (dry) cake mix one spoonful at a time so its combined. Stir in cereal so it is completely coated with marshmallow mixture. Sprinkle in half of the sprinkles and mix. Press into a baking dish (any size will do) and top with remaining sprinkles. Let sit for about 30 minutes before cutting.

I told you, they're good :)

Happy Scrappin'


Sunday, February 26, 2012

Overnight guests

I had some fun overnight guests on Friday night.  My niece and a friend of hers spent the night with me.  It was my crafty niece and wouldn't you know, she wanted to go downstairs to create something.  She reminded me that I was going to teach her how to make those cute little paper flowers with the Cricut.  Well, how can you say no to that?? 

Downstairs we went and they each created a banner with their name on it.  They picked out their papers, cut their letters out with the Cricut, and Kiana learned how to make her paper flowers.  Then I figured it was bedtime since they had a softball clinic to go to the next day.
They camped out on my living room floor (more fun than sleeping in the bed, I guess).  They slept all night and proceeded to go downstairs to finish up their banners.
I made my Baked Caramel French Toast and then I brought them up to their clinic.  What a fun time it was :)

Didn't they do a great job?  I think they did!

Happy Scrappin'

Sunday, February 12, 2012

More birthday wishes, a money bouquet and a recipe...

I have some more birthday wishes to send out - this time it's for my youngest niece for her Golden Birthday!  She turned 11 on Saturday :)  I waited until today to post so I had a couple of photos to share with you.  I just loved her birthday cake cupcakes.  How cool of an idea is that?
Did you notice the bouquet sitting next to her and her cake?  No?  Well, here's a better picture of it.
She wanted money for her birthday (I know she's saving up for a camera of some sort) but I couldn't just give her plain old ordinary cash.  She's my crafty niece, so I had to get crafty, too.  I think my little creation turned out pretty neat. 
I just accordion folded the money and held it all together with floral wire through the buttons - no adhesive whatsoever so it should be pretty easy for her to take apart when the time comes to spend the money...either that, or it's a good way to get her to save her money :)
A card you say?  Oh yeah, I totally scraplifted this one from my friend Lynn!  Thanks for the great idea, it turned out pretty cute :)
I also made these BLT roll-ups to bring along to the birthday party.  They were a fun change from the normal roll-ups that I make.  They were so easy to do, too...just my style :)
I'll even share the recipe with you:

8 oz. cream cheese
1/4 cup mayo
Mix together and add:
about 1/2 to 1 lb. bacon, cooked and crumbled
1 cup or so of chopped tomatoes

Spread on flour tortillas (I used about 7 of them, but it all depends on how thick you spread the filling).  Top with shredded lettuce.  Roll up and slice into pieces.

See, I told you they were easy, peasy!

Happy Scrappin'

Wednesday, February 8, 2012

Birthday Wishes

Today's post brings Happy, Happy Birthday Wishes to my Lil' Sister!  She has been my rock through thick and thin and I don't know what I'd have done without her and her family!  Happy Birthday, Tracey!

Today also brings you a couple more calendar pages.  Here are my March and April pages.
Happy Scrappin'

Sunday, January 1, 2012

Happy New Year

The last couple of days as I was putting my Rock the Block Magic Cube together (if you haven't checked out yesterday's post, you really need to do so) I was reflecting upon the last year (or the last couple of years, actually).  I have had a lot of really rough times...losing my son in a car accident, 9 months later losing my daughter in another car accident, getting divorced last year...  I truly am thankful for my family and friends for helping me get through it all!  Without all of you, I don't know what I would have done.  It truly has been a trying couple of years but you have all kept me grounded!

I have so many people ask how I do it.  I don't have an answer for that.  I just know that I keep putting one foot in front of the other and moving forward.  I also think all the prayers are helping get through, too.  I try not to dwell on the past and I look to the future.  I know that everything happens for a reason - I just don't know those reasons yet.  Someday it'll all make sense to me.

I have high hopes for the coming year and look for it to be my best year yet!  Here's to hoping it's a happy, healthy (and maybe wealthy, too) New Year!

Happy Scrappin'

Thursday, December 29, 2011

Handcarved greatness

Today I have a different kind of craft for you to enjoy.  No, I did not make these, but my talented brother-in-law did!  Ray, you truly have a knack for woodcarving, please don't give it up...and feel free to keep giving me the products of your handiwork :)

Today is Ray's birthday (Happy Birthday, Ray) and in his honor, I am showing you some of his woodcarvings.  I received this ornament for Christmas from him.
Last year I got this ornament (yep, he gave me the bird - hehehe).
The year before I got this adorable little Santa.
Take a look at the toothpicks he carved this year, too.  Yes, I said TOOTHPICKS!  Each one is fully carved and painted.  I told you he was talented!
Happy Scrappin'

Sunday, December 25, 2011

Merry Christmas

This Christmas I am counting my blessings for what I do have, not for what I have lost.  It's a tough time of year to get through, but I will be (and have been) surrounded by family and friends.  Thanks to them, I will be just fine.
Merry Christmas everyone!  Treasure your time spent with loved ones!


Monday, December 19, 2011

Roxie Club Layout

Finally some artwork to show you.  I have been busy, but not necessarily in my craft room, lately.  I do love the layout I created for Club yesterday, though.  I used the Roxie papers - love that plaid!  It could be Christmasy, Valentiney, or just about anything in between. 
My pictures were actually from last Thanksgiving and since most of us were wearing Packer clothes, I just printed them out in black & white and they worked perfectly!  I love how that worked out :)
I added lots of sparkles to the layout...just because I could :)
Happy Scrappin'

Sunday, December 11, 2011

A fun and crafty evening

So, one of my nieces was in need of making a handmade Christmas gift for her Advisor group at school.  She turned to Aunt Tammy for some help.  No problem, I had lots of ideas for her so Kinzie and her friend Kenna came over after practice one evening last week to create something.  Kiana ended up coming too, as she is the crafty one and didn't want to be left out.  She created a gift for one of her teachers.

The girls decided to make paper bag albums.  They each decided what they wanted on the front of them and they went to town creating.  They did awesome!  I am proud of the girls :)
It was kind of funny as Kinzie isn't the one that's into this whole paper-crafting business, but she did great!
Kenna really enjoyed making her album and had fun.
Now Kiana, to say she enjoyed making it would be an understatement!  I had to shut her down and call it quits or she would have been here till morning still working on hers.  She loves to craft!
Happy Scrappin'